Alright, it’s time. I’ve been talking about it for a couple weeks now and this week is the time to attempt sourdough doughnuts! I feel more confident with my starter in general, so it feels like the right time.
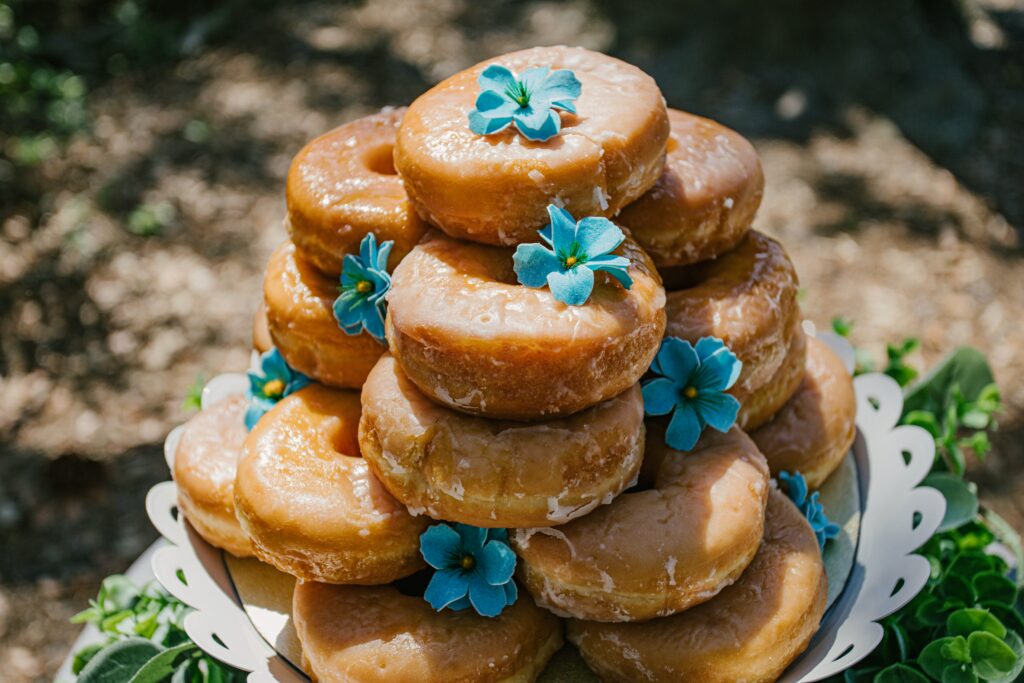
Personally, I’m partial to a simple glazed doughnut. If these doughnuts turn out well, I might have to attempt a jelly doughnut. I’m going to use this recipe by Bless This Mess. Compared to the other things I have been baking, this is a very rich dough. This recipe calls for milk, eggs and butter which is of course what helps to make doughnuts so delicious, rich and light and fluffy! The issue with this recipe for me is that all the measurements are in cups, teaspoon (tsp), tablespoon (tbsp) etc. This is fine when you’re baking at a beginner level, or baking something that is not temperamental, but really ingredients are best measured by weight (I use grams). Sometimes online recipes offer an option to convert the recipe to weighted measurements, if it does I highly recommend you use that.
I’m going to add the recipe here and convert it to grams. Again this recipe is Bless This Mess’s Light and Fluffy Glazed Sourdough Doughnuts.
- ¼ cup milk (whole or 2%) ———————- 61 grams milk
- ¼ cup sugar ————————————— 50 grams sugar
- ¼ cup butter, cut into 4 pieces —————– 56 grams butter
- ⅔ cup active bubbly sourdough starter —— 80 grams starter
- 1 teaspoon salt ———————————– 5.7 grams salt
- 2 eggs ———————————————- 2 eggs
- 2 ⅓ to 2 ⅔ cups all-purpose flour ————- 280 – 320 grams flour
Why does it matter so much? Aren’t the original measurements fine? Well, this is where cooking and baking are the most different. This article from Food Bloggers of Canada explains why it is so important to weigh your ingredients when baking, here is a direct quote, “baking is a science and it requires all the precision you would expect when doing a chemical experiment”.
This might make baking seem unapproachable, but it’s honestly easier to just weigh things than to measure them all out in cup measures.
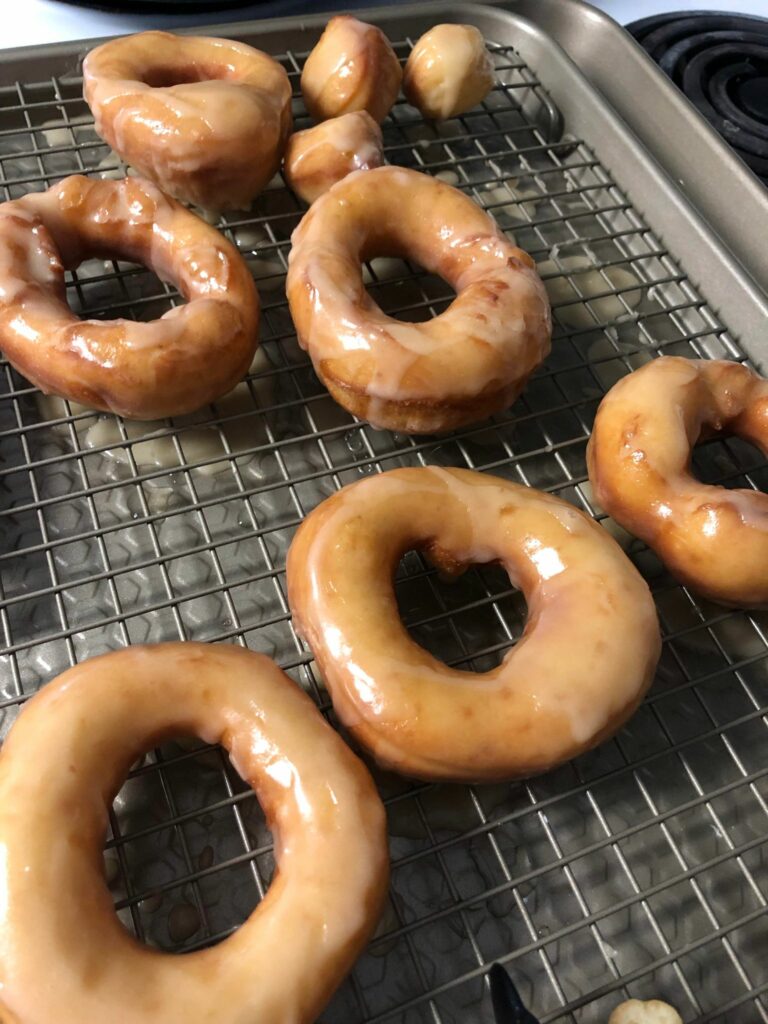
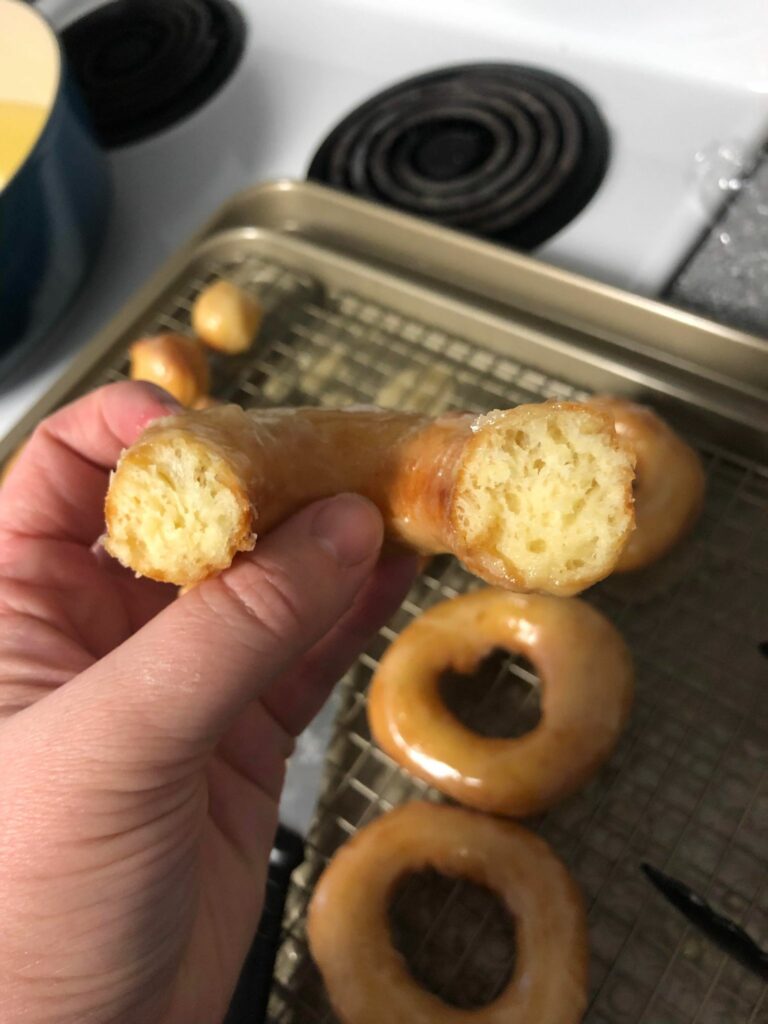
Well, these sourdough doughnuts were a huge success! They were really easy to make, not a lot of hands on time with these. The dough probably took 15-20 minutes to put together (including a 10 minute resting period), and then it has a long proofing time 3-6 hours. I think I proofed mine for 3 hours or just under, and it’s a hands off proof – no stretching or folding. Following the first rise I rolled the dough and cut out the doughnut and doughnut holes (I used a jar lid and a water bottle cap because I didn’t have the proper cookie cutters), and left the cut out doughnuts for another 1-2 hours. The doughnut holes took 35 seconds per side to fry, and the doughnuts took about 70 seconds per side. So fast and easy, and then I just dropped them in the delicious and easy glaze icing.
I will definitely be making these again! I might experiment with proofing the dough in the fridge overnight to see if they develop a nice sour flavour.
Leave a Reply
You must be logged in to post a comment.